I am frequently being asked how I make the little pom poms that I use to decorate some of my hats – so, for those of you who are interested, here you go:
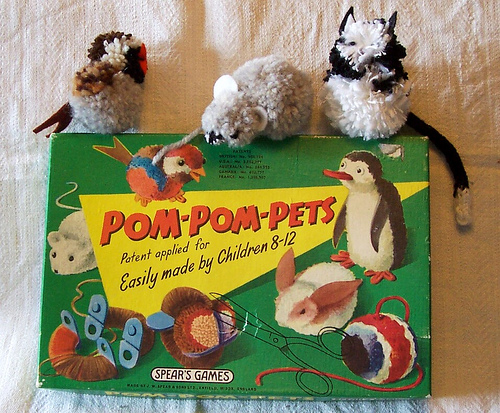
When I was a little nipper (a few years ago now), my Mum bought me a Pom Pom Pets set.
Little did I know then how useful it would be.....
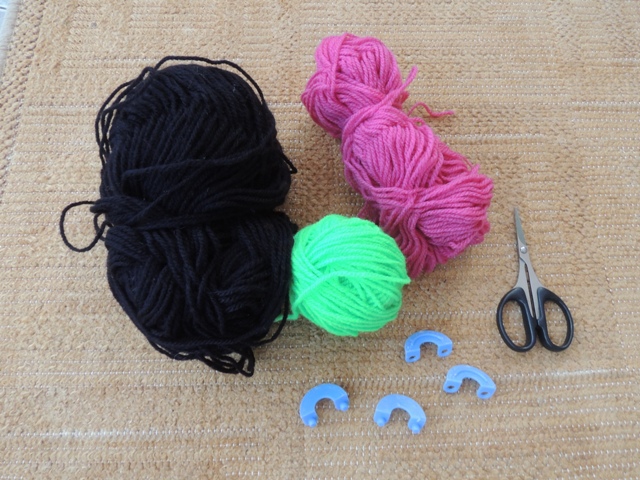
What you need to make a pom pom.
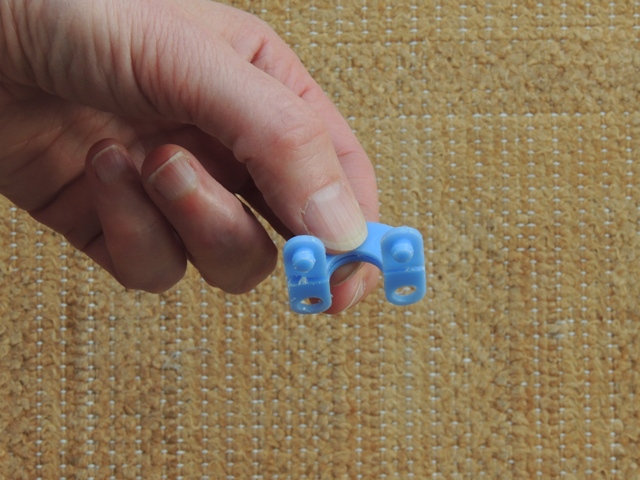
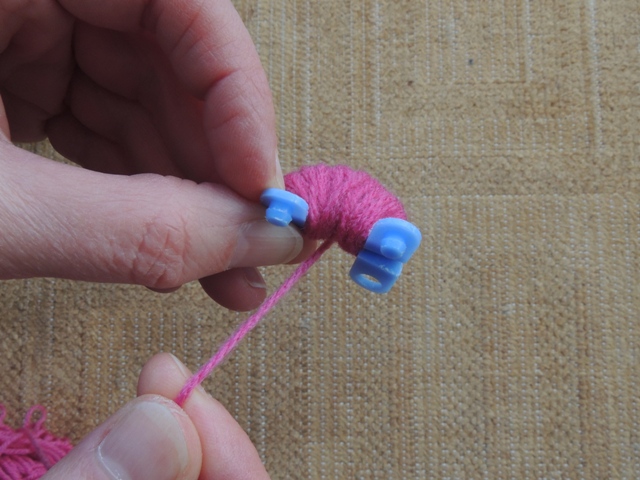
You can buy similar pom pom makers off Ebay - they would work in the same way. You take two pieces and hold them together.
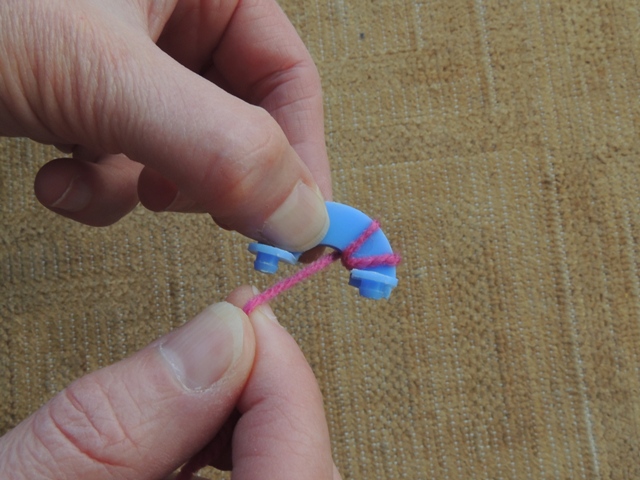
Sandwich the wool end between the two pieces and pinch them together to hold it in place whilst you start winding.
Continue to wind - the more you put on the bigger the pom pom.
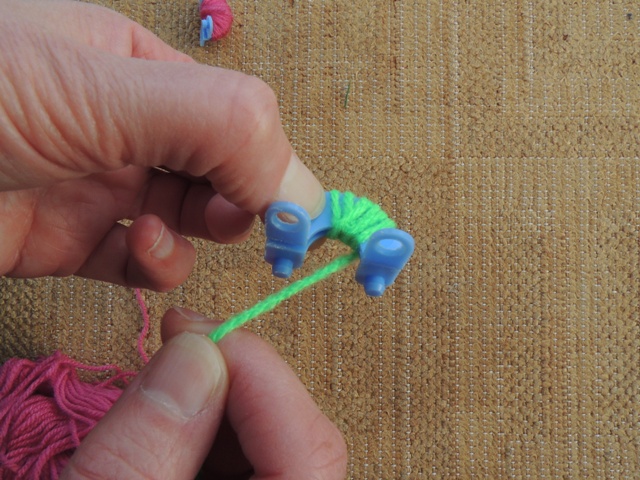
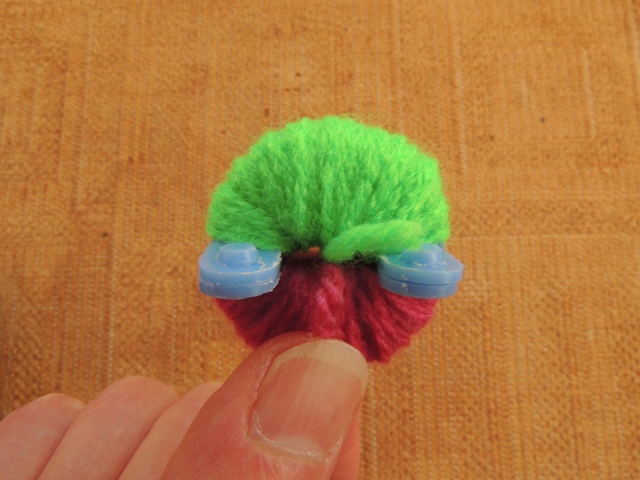
Do the same with the other half.
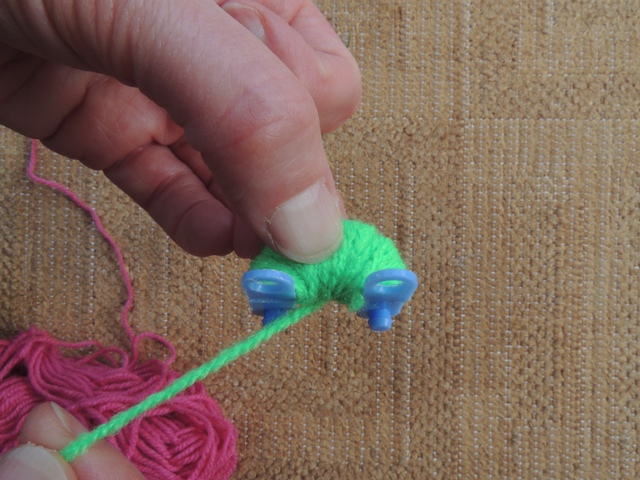
Try and wind on a similar amount of wool or you will end up with an uneven pom pom.
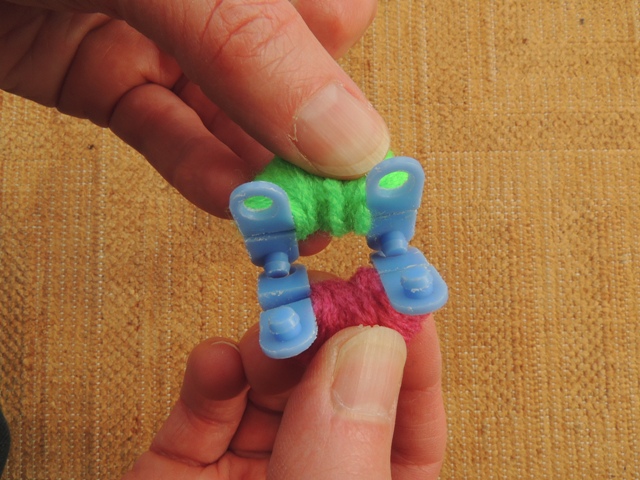
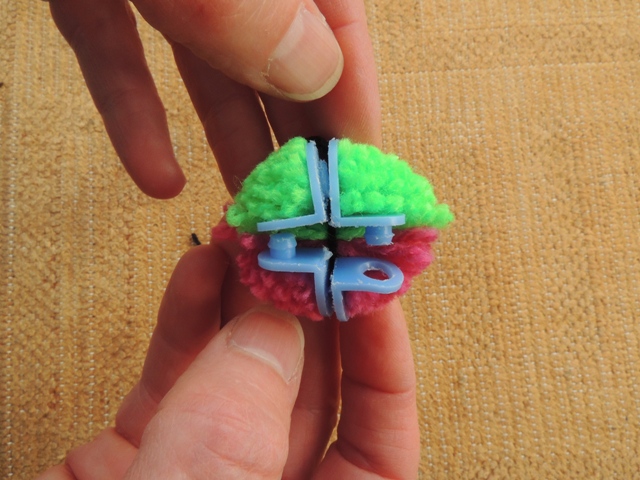
Snap the pom pom makers together.
It will now look like this.
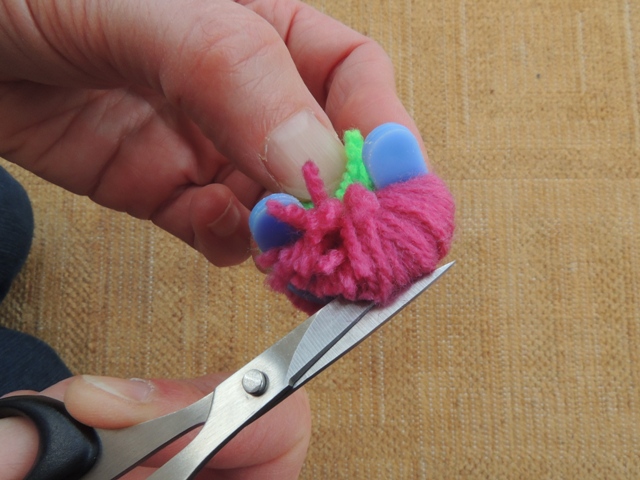
Place the blade of your scissors between the two halves of the circle and start to cut the wool - gradually work your way around until your pom pom....
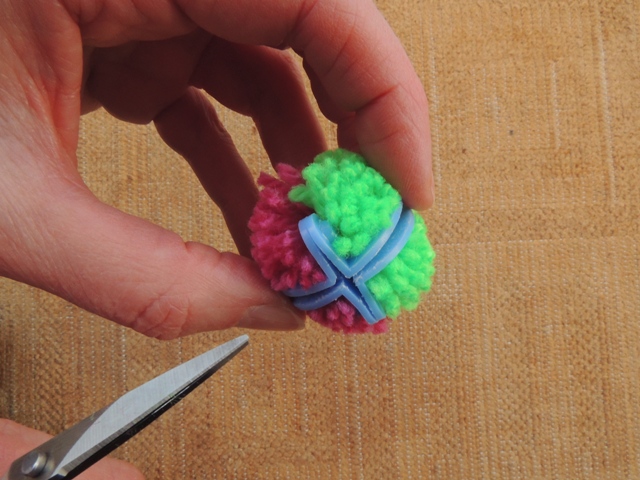
....looks like this.
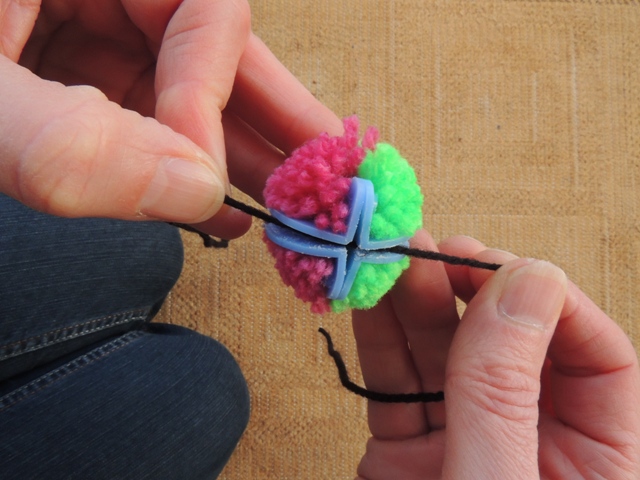
Wind a length of wool around the pom pom where you have cut.
Pull the wool up tight and secure with a few knots.
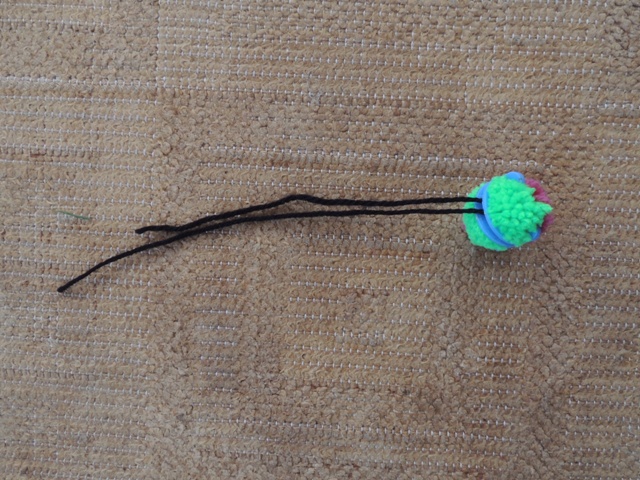
It should now look like this - the long ends are useful for sewing on your pom pom.
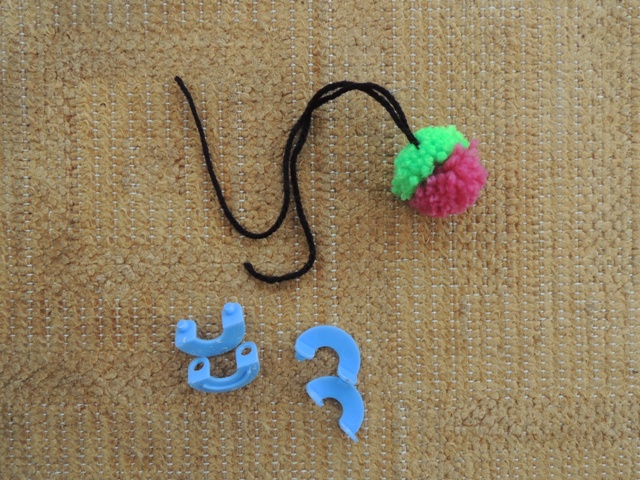
Un-snap the pom pom maker pieces.
And remove them carefully from the pom pom.
And there you go - a dinky little pom pom all of your own! The pom pom makers I use are 3cm in diameter - you could make something similar with cardboard.
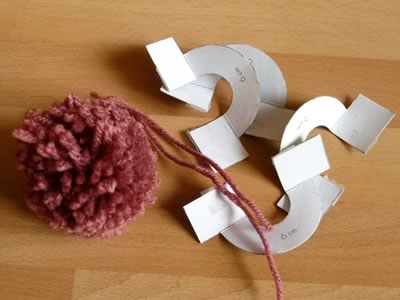
Cut out your card in the shape of my pom pom makers and make in the same way - not quite so easy as they won't snap together - but if you are careful winding the wool this should hold them in place for you to cut.
We use cookies to ensure that we give you the best experience on our website.OKFind out more